Showing posts with label Design. Show all posts

Saturday, May 7, 2016

Eraser Stamp Numbers 25 and 26

Ok. I actually carved out these guys months ago. Literally. Like way back in February. And I actually drew them in Dec last year. Hence the Xmas themed bells.

But well... Life and procrastination got in the way of posting the designs... Oh wells.

That's no. 25. The muti-layered heart. 


And the Xmas bells.

Posting this just in time for mother's day huh? Lol.

Wednesday, April 13, 2016

Digital Art: The Lighthouse

Hiya! It's been a really long time since I did anything remotely artistic. Well I did try my hand at drawing some stickman cartoons, but the verdict is that I'm really good with my hands except when I'm holding a pen/pencil/writing instrument. Heck, I can even make eraser carvings just fine... But no, I can't draw.

My sis happily remarked that I'm only good at doing '3D' stuff. Well... I guess you could put it that way?

I"m really looking forward to getting my 3Dsimo 3D doodling pen... I wonder how well I'll do with THAT lol. Since it's still erm... Drawing after all...

Oh wells.

Anyway, a random little picture from me for now.

Also made with the Assembly app. They've more shape packs and stuff now... And you can even 'make your own shapes' by grouping other shapes together. What I'd really love to see though, is a free transform feature for shapes. At the moment you can only resize the shapes while keeping their aspect ratio. Being able to stretch shapes at will would be a good addition...


Monday, February 8, 2016

Eraser stamp No. 22: Circles

Finally! An eraser stamp!

I drew this one halfway long ago... Finally decided to 'finish it' by adding that largest circle...

It still looks pretty empty, but I had no idea what else/where else to add in anymore so... I just proceeded with the carving.


Saturday, February 6, 2016

Digital Art: An ugly monkey

I actually started this one quite a while back. Since 2016 is the year of the Monkey on the Chinese Zodiac... What better way to celebrate than to make a little digital monkey, right?

Unfortunately, it couldn't be hard to make it on Assembly.

In spite of all the animal packs... There's nothing quite there for making monkeys amongst all that shapes. Ok. Other more talented artist will certainly have better luck than me. But alas, all I can manage is this poor excuse of a monkey...


Monday, December 28, 2015

Eraser Stamp No. 21: Flower

Drew this freehand, off nothing. I wanted to make it erm... more... crowded? Sort of like the wave design, with more details. But ended up not having anything to fill in the flowers. Except for well. Dots. And the thing of dots is... it's really hard to carve out. It's easy if it's a negative color dot. Like, if I were to dig a circle out of the eraser. I just have to hold my knife still and turn the eraser around, like what you'd do if you were to carve that bad bit of an apple out or something. But no, leaving round little stumps is hard, because the stumps left behind tend to be any other shape then round...


Sunday, December 27, 2015

Digital Art: Season Greetings

Ok... This is kinda late... But still...


Yet another Xmas themed picture from Assembly. This time making use of their holiday shapes pack.

Friday, December 25, 2015

Digital Art: Merry Christmas!

Merry Christmas everyone!

Here to share two cool videos!

Time lapse video of me making my Christmas tree Ver. 2 and a Santa stamp picture! I think the time lapse videos make the art pieces much cooler... :P Check them out!


And here's the Santa.


Happy Holidays!


Wednesday, December 23, 2015

Monday, December 21, 2015

Eraser Stamp No. 20: Piggy

Once again, I looked around my table for inspiration for this one. Seriously, those who says a messy table is good for creativity... I say, yes. By simply virtue of the numerous objects and designs on them from which I can copy. LOL.
That's my attempt at drawing the pig.

And the glass jar with piggy. See the cap? It's all rusted, no thanks to the ultra humid SG weather. But well, I got this in sec 1 or 2 from my senior during a CCA gift exchange. That's like... 13 or 14 years ago. Yeah. This is ancient man.

The completed product.


Saturday, December 19, 2015

Digital Art: Christmas Tree Version 2

Since the previous Xmas tree was kinda plain... I decided to give the tree another go and came up with this.

I made this quite a while back... and finished it up today. Without realising that there's new packs in the store. Only after I finished that I decided to check the store and realised that there's not 1, but THREE new logo packs - Festive shapes, Cartographic shapes, and Badge shapes. Maybe I'll try making something with the festive shapes over the next few days... hmm...

Anyway, here's the Christmas tree!

Merry Christmas everyone!

Digital Art: Robot

Robots are one of the highlights in the Assembly app. They specially have a segment of shapes entitled 'robot parts'. Since I was bored out of my mind while my parents were shopping a few weekends back... I decided to make a little robot. Nothing really out of the ordinary... just a regular little 'bot.


Monday, December 14, 2015

Eraser Stamp No. 19: Waves

I was looking around the table when I saw the pattern on my chopsticks... And this was the result! This one took me really long to finish. I drew the design before the no. 18 trees was even conceptualised... but owing to the complexity of the design, carving it out took me a while. I'd carve a few curves out at  night, head to bed, then repeat the next day.

Looks pretty daunting isn't it?

I got the design inspiration from my chopsticks... 

Just looking at this... made me feel tired. I felt like giving up at first even! Before I even started lol! But as I carved on, it started getting addicting. I even felt urges to carve it!

About 1/3 of the lines carved out.

Halfway there!
Finally! The finished product! It's a pity that the sides were slanted when I did the carving initially... Destroys the otherwise very beautiful stamp... *sigh* Oh wells. I'll be more careful next time! Note to self: When carving frames, you'd better make sure they are darn straight. 

Maybe I'll use a ruler when carving frames out next time? Hmm... 


Sunday, December 13, 2015

Eraser Stamp No. 18: Trees

I've been keeping my eyes peeled for designs and stuff that I can use on my stamps... And my mum happened to buy a new tumbler from Starbucks the other day...

That's the tumbler on the right. It's dark green and all christmasy. This photo doesn't show the colors well... but my purpose of taking the photo was just so I could have a reference of the pattern. I drew my design while copying this photo.

My first sketch. Which looks so ugly it's horrifying. 

I went over it in pen... nicer this time. I was too lazy to use ethanol to erase off the wrong lines, since that meant I would have to draw the entire picture again. Plus, the design wasn't that complicated anyway....

And my completed stamp. Took me quite some time to carve, in spite of it's simplicity. The reason? All that empty space at the sides that I have to carve alway. That's pretty troublesome actually... 

And another look at my completed stamp. Nothing too special here... just something with a little Christmas flavour. :)

Sunday, December 6, 2015

Stamp No. 16: Break time!

Ok! So I finally finished up my break time eraser a while back. It's that coffee cup thing in my Eraser Crafting Guide...

Yup! Finally! It's finished!

Drew it, left it out for weeks, then started carving... and left it carved halfway...

This one took me way too long to finish! :P

Added in the text cos the stamp looked too empty otherwise... :P


I didn't actually edit the stamp fro the two inkings... besides carving off a bit of the eraser edge. (Not the design though!) But the words looks much clearer in the second stamp... Reason? There's too much ink when I stamped the first time!

Wednesday, December 2, 2015

Digital Art: Tis the season to make christmas trees...

With Christmas just around the corner... some of my friends have started setting up Christmas trees in their house. We don't celebrate the occasion in my family though, but with all the Xmas decorations going up in the malls, it's hard not to at least get in the mood a little.

So...

I tried to make a Christmas tree with the Assembly app. And it turned out well... not that nice. I did have fun making the presents under the tree though. Took a little creative thinking to figure out how to make the ribbons with the app. (Yes, just drawing would have been so much easier.)


Looks pretty dull huh? Then again, it actually looks better far away now on the computer screen than on my phone. Hmm...

Sunday, November 22, 2015

Stamp Nos. 13 & 14: Of Squares and Triangles and the Arashi Japonism Shape

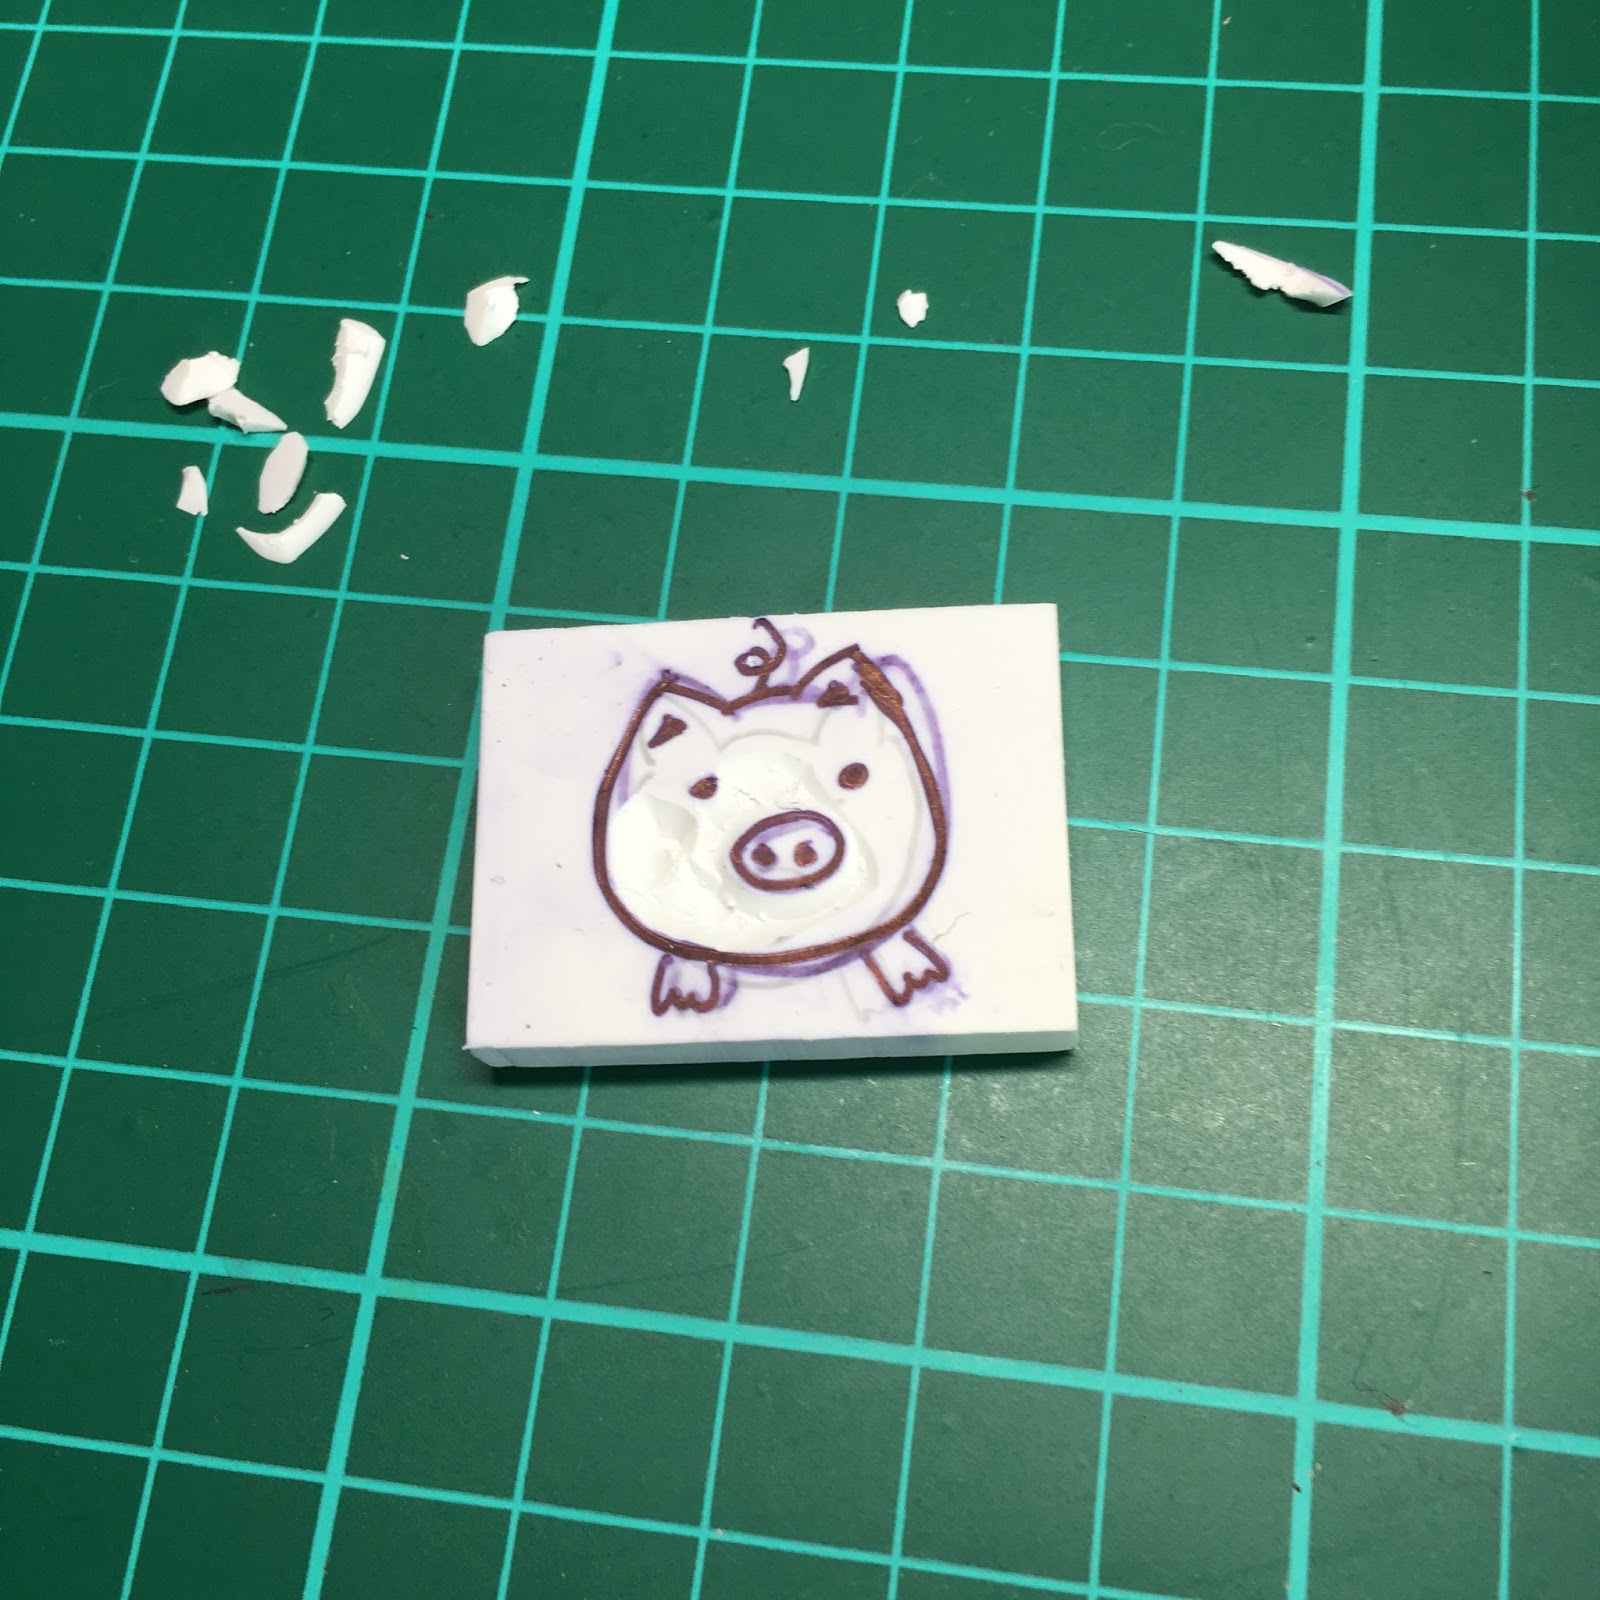
When the Arashi Japonism goods came out, the first thing on my mind was "Oh! I'm gonna carve this thing!"

So I copied the design on a piece of sticky note (which is so old that it's no longer sticky the moment I tear it off the pad)... and did just that. Well. Typing is way simpler than it actually was. This one took me a LONG time to carve. I'll explain why in a bit.

My 'copy' of the logo. Yes, 100% messy handwriting.

Anyway. I tried to draw the design on the eraser. Just some straight lines, easy right?

Well...

Well....

Ok, maybe I just suck!

My first attempt ended up being a TOTAL failure. And my second too...

That's my first two attempts, first one on the left, second one on the right. On the first try, the diagonal lines were not evenly spaced. On the second, the diagonal lines were properly spaced, but it was way too big! There's not enough space on the puny eraser for the design! I can 'reuse' the eraser by drawing over in pen (and I can even 'erase' the pen marks, more on that in another post), but since the drawing is all full of lines and I didn't want to mess myself up, I reached for a new eraser each time. It's a box of 48 anyway! And I could always draw something else over these when I had inspiration.

It took my a long time to get this stamp done. Between my tries there was probably a whole week break; it was pretty frustrating because I couldn't get such a simple thing right.


My 4th, 3rd, and 2nd try, shown in that order. 

You already saw the second try in an earlier photo. For the 3rd try, I thought I got wiser and drew in the vertical and horizontal lines first instead of diagonal. (Stupid right? I know.) BUT. Just as I finished drawing the last of the horizontal lines, and counted the number of squares I needed... I realised that my boxes were too big once more. I couldn't fit the design in! Gosh! That shows just how small the eraser is! I was using 0.5 cm squares and it didn't work. A little mental calculation later... I realised that I had to decrease the length of the squares to 0.4 cm. And that lead to my 4th try. Finally, everything was in order. I didn't let the erasers go to waste though, and filled out that pattern on the 3rd try as you can see above. 

Here's the two erasers carved out. 
And the test inking results. Pretty decent if you ask me. well, since it's all straight lines, the carving part was easy peasy. The drawing though... hahaha.

In hindsight... I could have just rotated the Japonism logo so I can make it bigger. Yes. Silly me. I'll do it again and bigger next time. I'll update the blog when I do!


Saturday, November 21, 2015

Stamp No. 6: Circuits

So... After the lines and circle.. I looked around my desk and lo and behold! What do I see but my rainbow colored powerlogic mouse and mousepad beside me?


Pretty right? Love the colors!

Anyway, here's the design on my eraser stamp:

I think the effect turned out ok. The lines are not that even, and not straight enough. Some places it's a bit too thin and other places it's too thick. Oh wells! Next time I'll do it better! 


Stamp No. 5: Lines and circles design

I was casting around, looking for something to carve next. After the first few Arashi logos, I decided that I needed a change. Chanced upon a circle and lines design on a tube of cream and found it really nice. Hey! Just the inspiration I needed for my next stamp! Perfect!


Pretty eh?

My design on the eraser, partially carved.

The fairy delicate design meant that it took me (with all my n00b skills) fairly long to finish.


Still, I'm pleased with the final product! Notice the extra lines on the side are gone in the 3rd and 4th inking. After each inking, I look at which parts need improving and work on them. It's also easier when there's some ink on the eraser already, because otherwise it's too hard to see exactly how the surfaces are - everything is all white!